Mortal Shell 2 All Weapons & Locations
Mortal Shell 2 has 16 weapons and sidearms in total. Find every melee weapon and firearm location in Fainweald and Mammon, plus Tarforge upgrade tips.
Last verified: August 20, 2026 · Tested on PC · Game version v1.0
Mortal Shell 2 has a total of 16 weapons and sidearms to collect. Two of them are handed out during the prologue, six more are hidden across the Fainweald region, and the final eight are scattered through the Ruins of Mammon. Every weapon can be equipped by any Shell, and every piece can be upgraded further at the Tarforge in Marrow Keep as long as you have the required coins and smithing materials.

How Many Weapons Are There?
The full armory breaks down into eight primary melee weapons and eight ranged sidearms. The eight melee weapons are the Iconoclast, Axe and Dagger, Veteran’s Battle Axe, Great Martyr’s Blade, Obsidian Hammer, Axatana, Black Needle, and Clockwork Scythe. The eight sidearms include the starting Naylshotte plus the Forgotten Crossbow, Troubadour’s Lute, Salvaged Trebuchaxe, Ballistazooka, Triarch Repeater, Cursed Child, and Caged Hystrix.
This is a large expansion over the first Mortal Shell, which only had four primary weapons. Tarstones add elemental infusions and new abilities, so the smaller melee pool still supports many builds. Because any Shell can wield any weapon, your melee and sidearm choices matter more than your Shell for defining your playstyle.
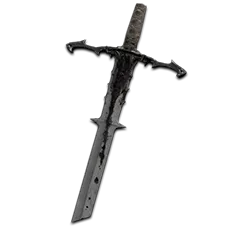
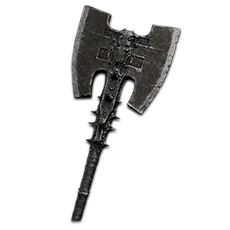
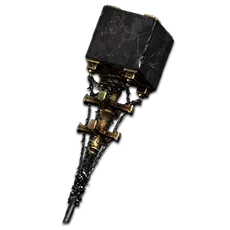
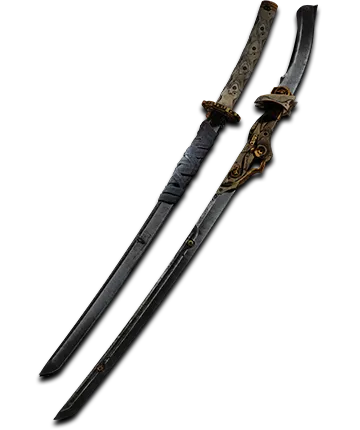
Every weapon also has a unique Weapon Ability that consumes Resolve, with effects such as elemental imbues, ranged attacks, or AoE damage. Resolve builds by attacking enemies, so the flow is attack first, then unleash the ability when it matters.
Prologue Weapons
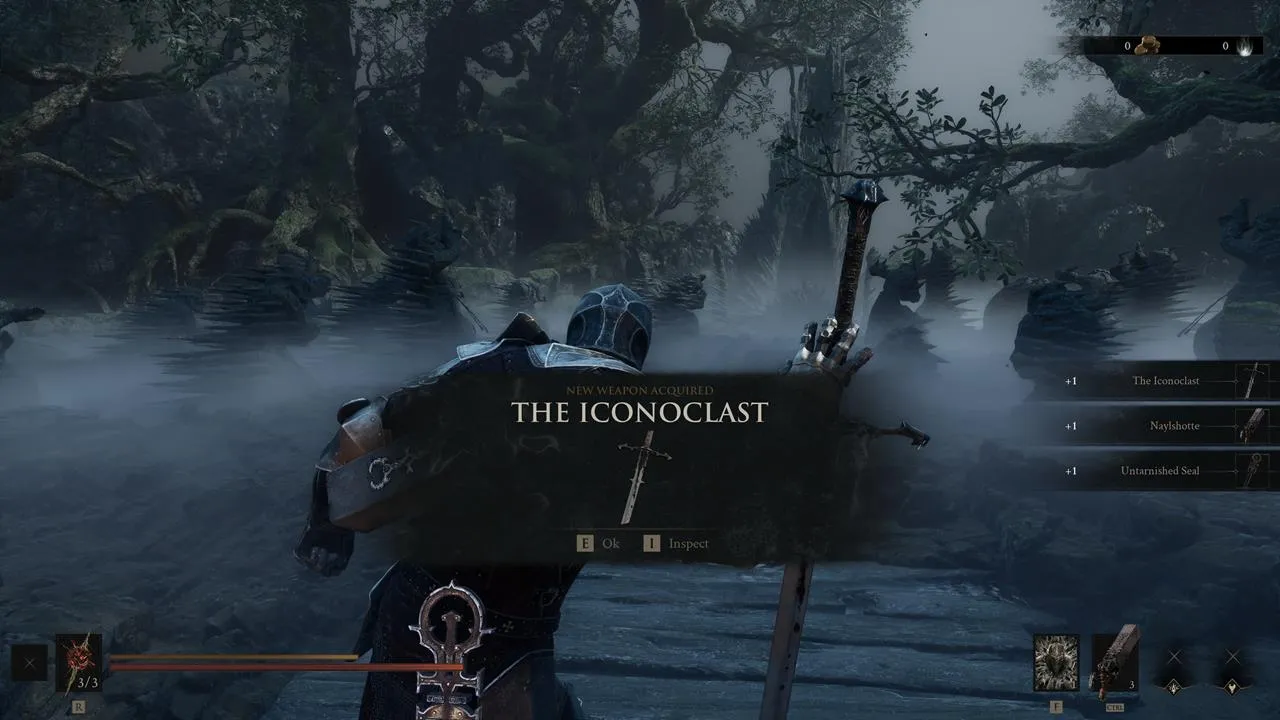
You receive your first loadout during the prologue while unlocking the Harros shell. You also receive the Untarnished Seal, which enables blocking and Perfect Guards.
The Iconoclast
The Iconoclast is the prologue’s balanced starter melee weapon and arrives as part of the Harros unlock route.
Database: View The Iconoclast stats, moves & effects → · Map: View the prologue pickup route →
Naylshotte
Naylshotte is the shotgun-like starting sidearm that fires a spread of projectiles and arrives with the prologue loadout.
Database: View Naylshotte stats, moves & effects → · Map: View the prologue pickup route →
These starting pieces carry you through the early hours, but you will want to replace them as you explore Fainweald. Later weapons offer more reach and unique abilities that help against tougher enemies.
Weapons and Sidearms in Fainweald
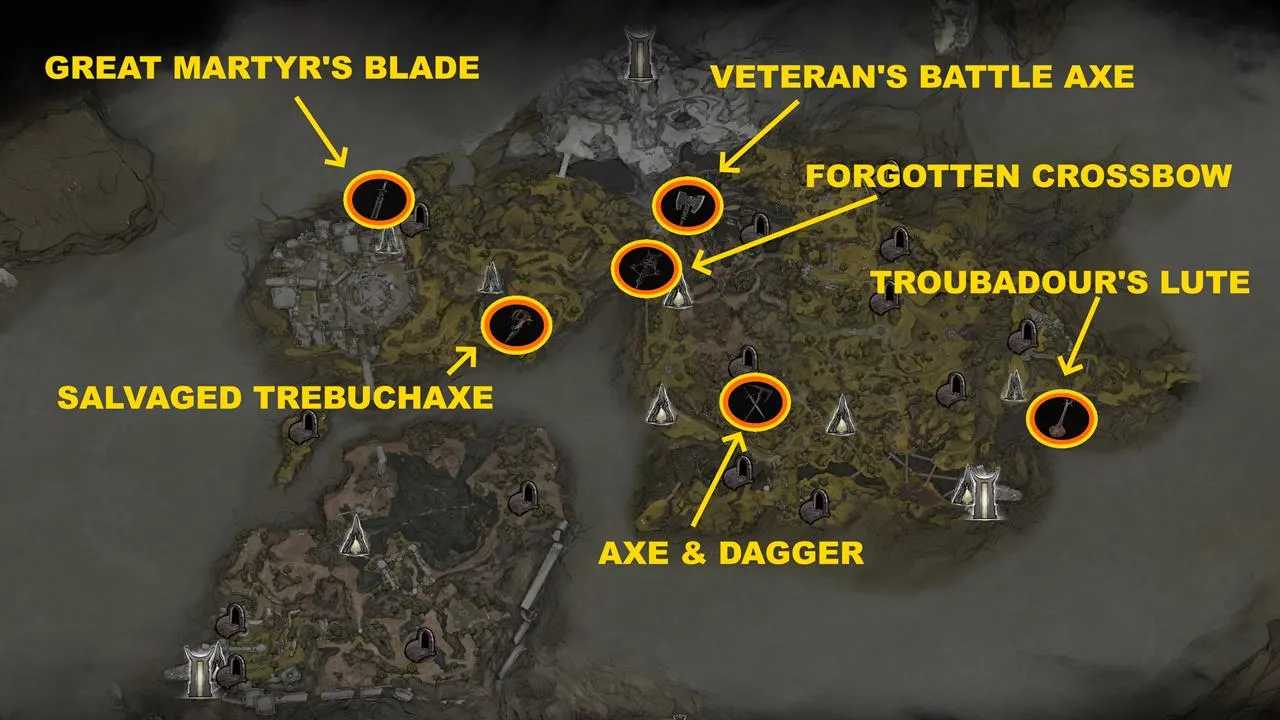
Fainweald holds six armaments, and most are reachable shortly after you unlock fast travel from the Widow’s Overlook beacon. The region is more forgiving than Mammon, so several of these are good early-game upgrades.
Forgotten Crossbow
Database: View Forgotten Crossbow stats, moves & effects → · Map: View Flooded Village →
The Forgotten Crossbow is in the Flooded Village dungeon. From Widow’s Overlook, follow the sloping path to the rope bridges and lower crags, destroy the wooden boards covering a stone arch, and ride the elevator down. Fight through Toxic Stalkers, grab the Damp Key from the back house, then open the locked door in the main structure to claim the crossbow.
Veteran’s Battle Axe
Database: View Veteran’s Battle Axe stats, moves & effects → · Map: View King’s Crypt →
The Veteran’s Battle Axe sits in the King’s Crypt dungeon. Follow the dirt path from the Proxima shell area to a cavern, clear the enemies, and claim the axe from the sarcophagus. Its strong running attacks make it a favorite for opening fights with a single big hit.
Axe and Dagger
Database: View Axe & Dagger stats, moves & effects → · Map: View Hunter’s Outlook →
To obtain the Axe and Dagger, grab the Chapel Key from a plateau near the Mushroom Village beacon, then head left from the beacon to a Grisha Hunter encampment and unlock the tower. Solve the three room puzzles and defeat the Armored Knight to claim the weapon.
Troubadour’s Lute
Database: View Troubadour’s Lute stats, moves & effects → · Map: View One-Legged Wolf →
The Troubadour’s Lute is on the stage of the One-Legged Wolf tavern in eastern Fainweald. Siphon enough Ova to cleanse the corruption, then travel north from the Mushroom Village Entrance beacon. The lute confuses enemies and can make groups fight each other, and you can also unlock the Gragu shell while there.
Salvaged Trebuchaxe
Database: View Salvaged Trebuchaxe stats, moves & effects → · Map: View Ravaged Hideout →
The Salvaged Trebuchaxe is the reward for clearing the Ravaged Hideout dungeon outside the Citadel of Penance. Defeat the Bloodcursed Lithopod, which opens the Citadel gates, then enter its lair to collect this axe-firing sidearm.
Great Martyr’s Blade
Database: View Great Martyr’s Blade stats, moves & effects → · Map: View Martyr’s Prison →
The Great Martyr’s Blade is inside the Martyr’s Prison dungeon outside the Citadel of Penance. Interact with the mysterious coin pouch to teleport into the prison, fight through the corridors, and grab the blade. It pairs naturally with Eredrim’s Break-focused abilities.
Weapons and Sidearms in Mammon
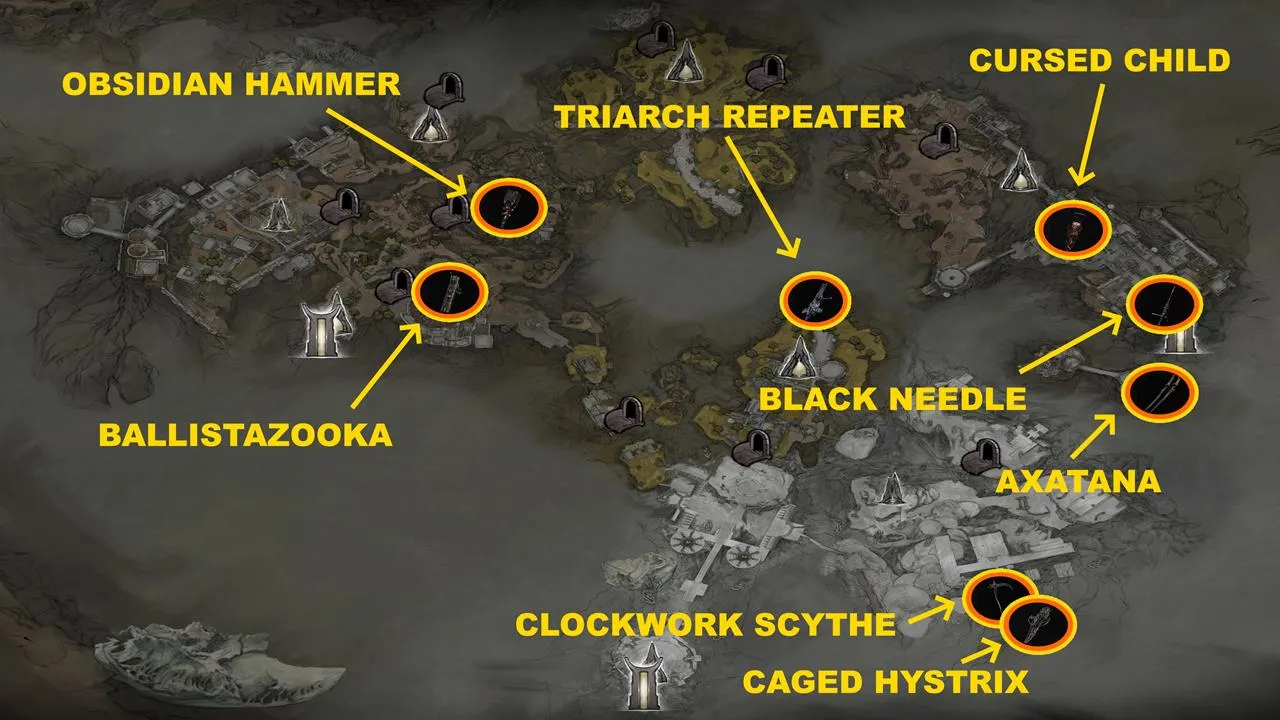
The Ruins of Mammon contain the remaining eight armaments. The region is tougher than Fainweald, and several of these weapons are guarded by minibosses or hidden behind dungeon puzzles.
Obsidian Hammer
Database: View Obsidian Hammer stats, moves & effects → · Map: View Obsidianite Mines →
The Obsidian Hammer drops from the Prophet of Profane Infinites miniboss at the end of the Obsidianite Mines. From the Outskirts of Mammon beacon, head west to the quarry pool, enter the dungeon, and fall carefully through the chasm to reach the miniboss.
Ballistazooka
Database: View Ballistazooka stats, moves & effects → · Map: View Sentry’s Grave →
The Ballistazooka is inside the Sentry’s Grave dungeon within the Lonesome Spire. The dungeon is filled with Ballista Head enemies, and the final chamber holds the Subjugated Guardian miniboss. Close the distance to force slower head-slam attacks that are easy to block or parry.
Triarch Repeater
Database: View Triarch Repeater stats, moves & effects → · Map: View Blackwell Cavern →
The Triarch Repeater is in the Blackwell Cavern dungeon. From the Castigator’s Keep beacon, follow the cliffside path east-southeast, take the wooden lift down, circle the grassy field, and enter the cave. Visibility is limited, so move carefully.
Cursed Child
Database: View Cursed Child stats, moves & effects → · Map: View Sester’s Abbey →
The Cursed Child comes from the Revered Beacon in the Sester’s Abbey. From the Sester’s Gate beacon, drop to the ledge below the Rollerball courtyard, shoot the bell to reveal a path, and continue to the lower section. Avoid the searching spotlight and destroy the object at the top to collect the sidearm.
Axatana
Database: View Axatana stats, moves & effects → · Map: View Forgotten Tower →
The Axatana is inside the Forgotten Tower. Drop past the Rollerball near Sester’s Gate, take a left, and use the jump gate to cross the ravine. Cross the tower with another jump gate, press the plate next to the metal door, defeat the Dagger Sester, and take the weapon.
Black Needle
Database: View Black Needle stats, moves & effects → · Map: View Sester’s Gate →
The Black Needle spear is obtained at the cleansed Sester’s Gate beacon. Shoot bells to materialize ledges, defeat the Twin Sesters in the arena, then defeat the Stray Sester to claim the spear. Its long reach and quick thrusts suit mid-range poke builds.
Clockwork Scythe
Database: View Clockwork Scythe stats, moves & effects → · Map: View Chamber of Becoming →
The Clockwork Scythe is found in the Chamber of Becoming. From the Silent Steps beacon south-southeast of Castigator’s Keep, use the jump gate and fight Sariel until he retreats. Continue into the chamber, defeat him again to unlock his Shell, and collect the Clockwork Scythe.
Caged Hystrix
Database: View Caged Hystrix stats, moves & effects → · Map: View Chamber of Becoming →
The Caged Hystrix is found near the exit of the Chamber of Becoming on the same route as the Clockwork Scythe.
Upgrading Weapons at the Tarforge
All weapons and sidearms can be upgraded at the Tarforge in Marrow Keep using coins and smithing-stone-type materials. Upgrading raises damage and can unlock additional properties, so invest in the pieces you use most.
Unlike Shell upgrades, weapon enhancements are not fully refundable. You can reclaim materials, but the gold is lost, so focus upgrades on one melee weapon and one sidearm before committing to new options.
Which Weapons Should You Prioritize?
For a first playthrough, the Veteran’s Battle Axe and Great Martyr’s Blade are solid melee options, while the Troubadour’s Lute and Ballistazooka give crowd control from range. Fast melee players should try the Axatana and Axe and Dagger; the Obsidian Hammer and Clockwork Scythe excel at staggering groups.
Because every Shell can equip every weapon, choose based on moveset rather than class. Test new weapons against basic enemies before spending upgrade materials, and check which Tarstones support each weapon type. For full movesets, effects, and special abilities per weapon, browse the Weapons & Equipment Database.
Watch: Mortal Shell 2 Weapon Video Guides
If you want to see each weapon’s moveset before choosing, the complete weapon guide below walks through every melee weapon, its infusions, and its unique abilities. The second video covers all sidearm locations, which pairs perfectly with the region-by-region list above.
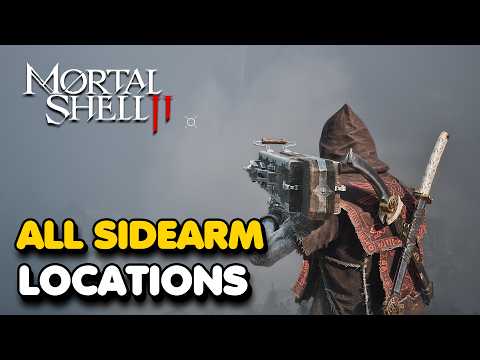
Mortal Shell 2 - All Sidearm Locations (Guns Lots of Guns Trophy Guide)

Mortal Shell 2 - Complete Weapon Guide: Movesets, Infusions & Locations (FightinCowboy)
Gallery
Related Articles
Stats & Moves
Mortal Shell 2 Weapons & Equipment Database
Compare weapon and sidearm moves, effects, forms, and special abilities.
Location Hub
Mortal Shell 2 Map — Regions, Beacons & Locations
Browse weapon pickups, dungeons, keys, merchants, and regional points of interest.
Required Key
Mortal Shell 2 Chapel Key Location
Find the key required to enter the Shrine of Trials and claim the Axe & Dagger.
Build Planning
Mortal Shell 2 Shells — All Classes & Abilities
Compare the playable Shells that can equip every weapon in this guide.
Was this helpful?
Thanks for the feedback!