Mortal Shell 2 Shells: All Classes, Locations & Abilities
Mortal Shell 2 Shells guide: eight permanent playable classes plus prologue-only Harros, with unlock locations and every ability explained.
Shells in Mortal Shell 2 are the remains of fallen warriors that the Harbinger can inhabit, functioning as the game’s class system. Each Shell has its own stats, abilities, combat style, and memory sequence, so choosing the right body changes how you approach enemies and bosses. The game has eight permanent playable Shells, plus Harros the Vassal, who is only usable during the prologue and is lost once it ends. The eight permanent Shells must be discovered across the Fainweald and Mammon regions, then unlocked by interacting with the corpse or completing a short task.
What Are Shells and How Do They Work?
A Shell is not just a cosmetic swap; it gives you a unique health pool, attribute spread, and set of active and passive abilities. Shells cater to different playstyles, from nimble rogues to heavy knights, and you can switch between unlocked Shells once they are awakened. Unlike the first Mortal Shell, the sequel removes the stamina bar, so movement and attacks are limited by a Resolve meter that fuels sidearm and Shell abilities instead. Every Shell has its own memory sequence, and increasing your bond with a Shell through Glimpse unlocks higher ability tiers.
How Many Shells Are There?
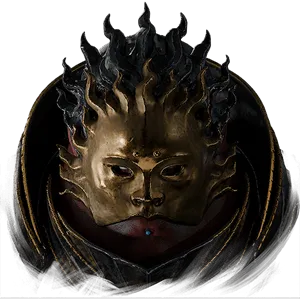
Mortal Shell 2 has eight permanent playable Shells, plus Harros, who is only playable during the prologue and cannot be kept after the opening sequence. The eight permanent Shells are Tiel, Proxima, Gragu, Eredrim, and Smert in Fainweald, plus Lazlo, Sariel, and Genessa in Mammon. Plan to move on from Harros to another class once the tutorial is over.
How to Unlock and Upgrade Shells
Permanent Shells are unlocked by finding their remains in specific locations and completing their first memory sequence. After that, you can level up your bond with them by spending a resource called Glimpse through the Shellkeeper NPC in the Marrow Keep hub. Each bond level opens higher perk tiers, and shell points are shared across all Shells and can be refunded at any time. Note that Genessa is an exception: her bond is upgraded by talking to her rather than through the Shellkeeper.
Once a Shell is in your roster, see the complete skins, Shades, masks, and cosmetics directory for its named Blackmarrow Shade and Devout Edition Obsidian look.
Fainweald Shell Locations
Use the Mortal Shell 2 world map to connect these Shell routes with nearby Beacons, dungeons, keys, and weapon pickups.
Tiel the Acolyte
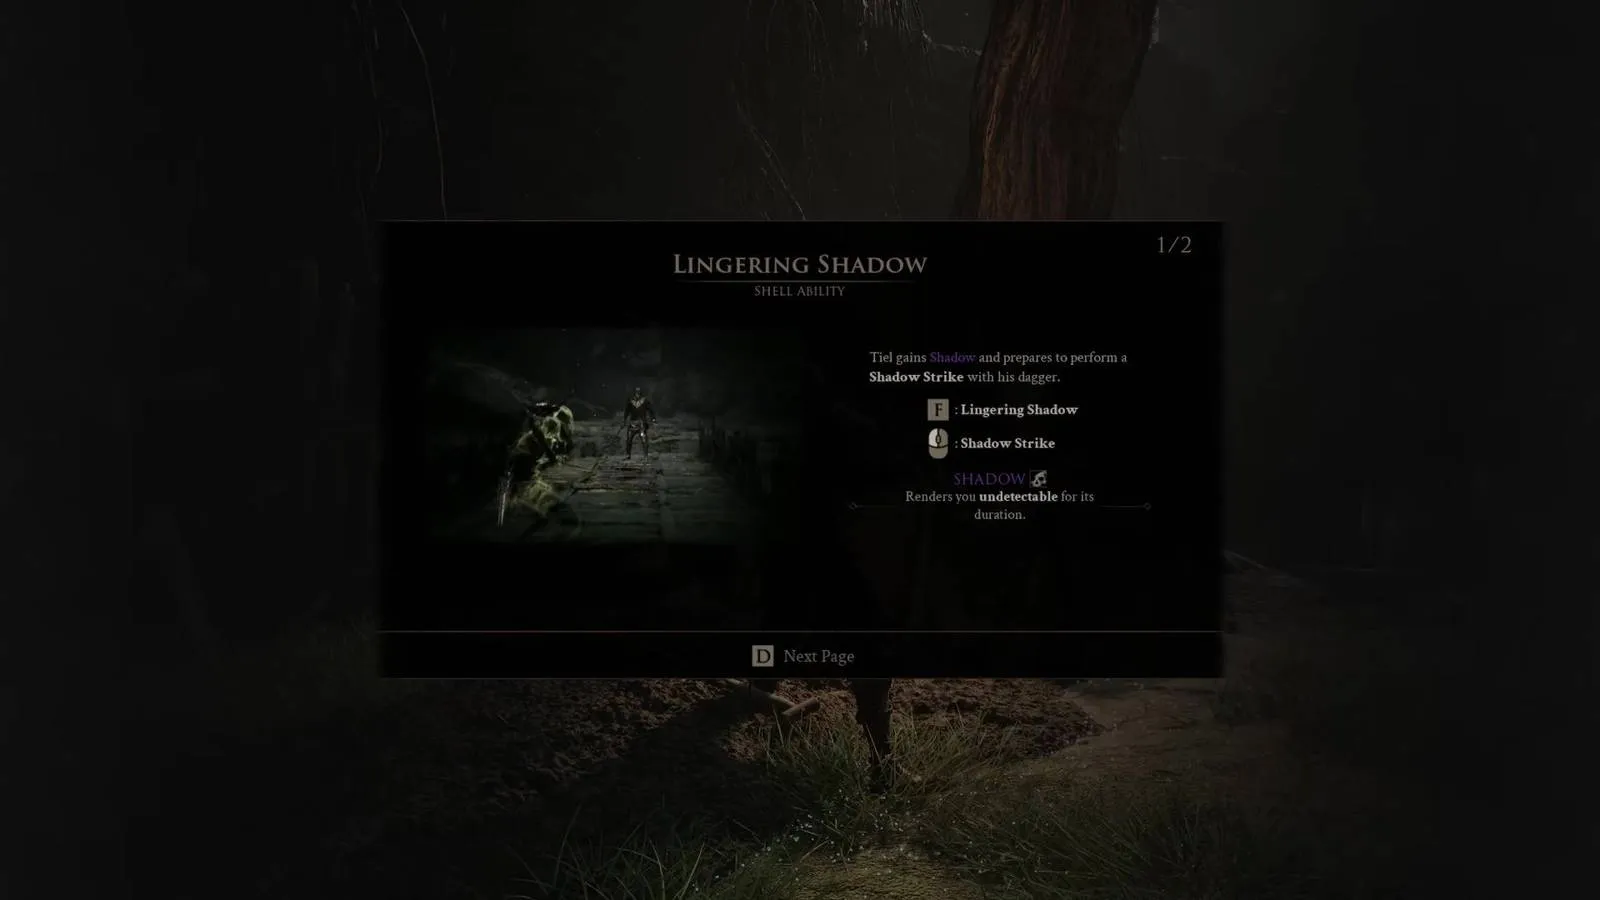
From the Widow’s Overlook beacon, follow the dirt path to a yard with a hastily dug grave and interact with Tiel’s corpse. He is a nimble, rogue-like Shell who appears to excel at dual-wielding weapons and agile movement. His Lingering Shadow active makes him invisible and enables a Shadow Strike, while his Shadow Dash passive grants Shadow after a well-timed dodge to deal stagger damage. Tiel is a strong pick if you want to backstab enemies and avoid direct trades.
Proxima the Broodseeker
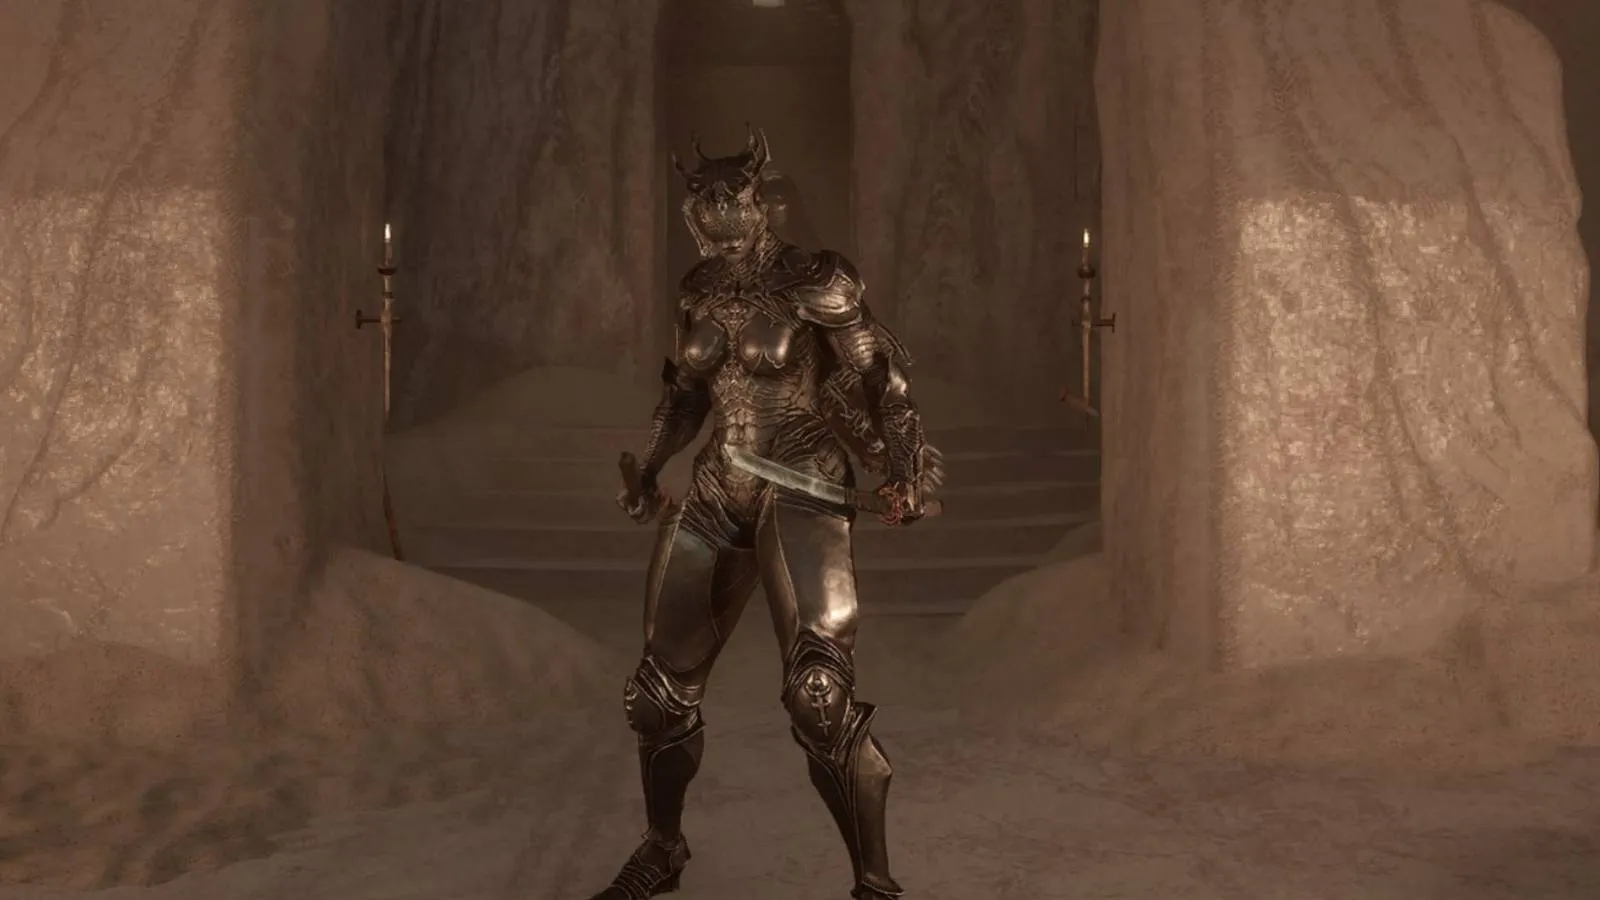
From Widow’s Overlook, go up the sloping path to Blackridge Pass, turn right past the fighting enemies, then enter the glowing beacon past the insectoid creature to find Proxima’s remains. She wears full armor with a horned helmet and uses a left-arm hook to pull enemies or herself into range for a Lightning follow-up. Her Bio Sampler active is a gap-closing attack that bypasses shields and applies lightning stacks, while Grafted Armor gives a 15% chance to reduce incoming melee or ranged damage by 50% and prevent stagger. Proxima suits players who want a durable, mid-range fighter.
Gragu the Insatiable
Head to the One-Legged Wolf beacon in eastern Fainweald after collecting around five extra Ova and receiving Mother’s Breath to cleanse corrupted growths. Enter the tavern and speak with Gragu, then retrieve the Heart of Vatra from the temple to the east and return it to him. Gameplay footage shows his main active Staggering Blow as a heavy punch that can be upgraded to explode enemies or rip out their hearts, and his passive Revered Heart replaces normal healing items with hearts dropped by foes. Gragu works well for aggressive players who want self-sustained healing.
Eredrim the Venerable
Travel to the Citadel of Penance in northwestern Fainweald and descend into the fighting pit to tag Eredrim’s remains. Eredrim is a heavy, knight-like Shell with high Durability but limited Resolve, making him ideal for melee-focused players who prefer trading blows up close. Gameplay footage also shows a shoulder bash for break damage, an Ethereal Dapaon instrument that deals area break damage, and an Executioner passive that builds Slaughterer stacks to expand riposte execution thresholds. Eredrim is the go-to choice for a tanky sword-and-board style.
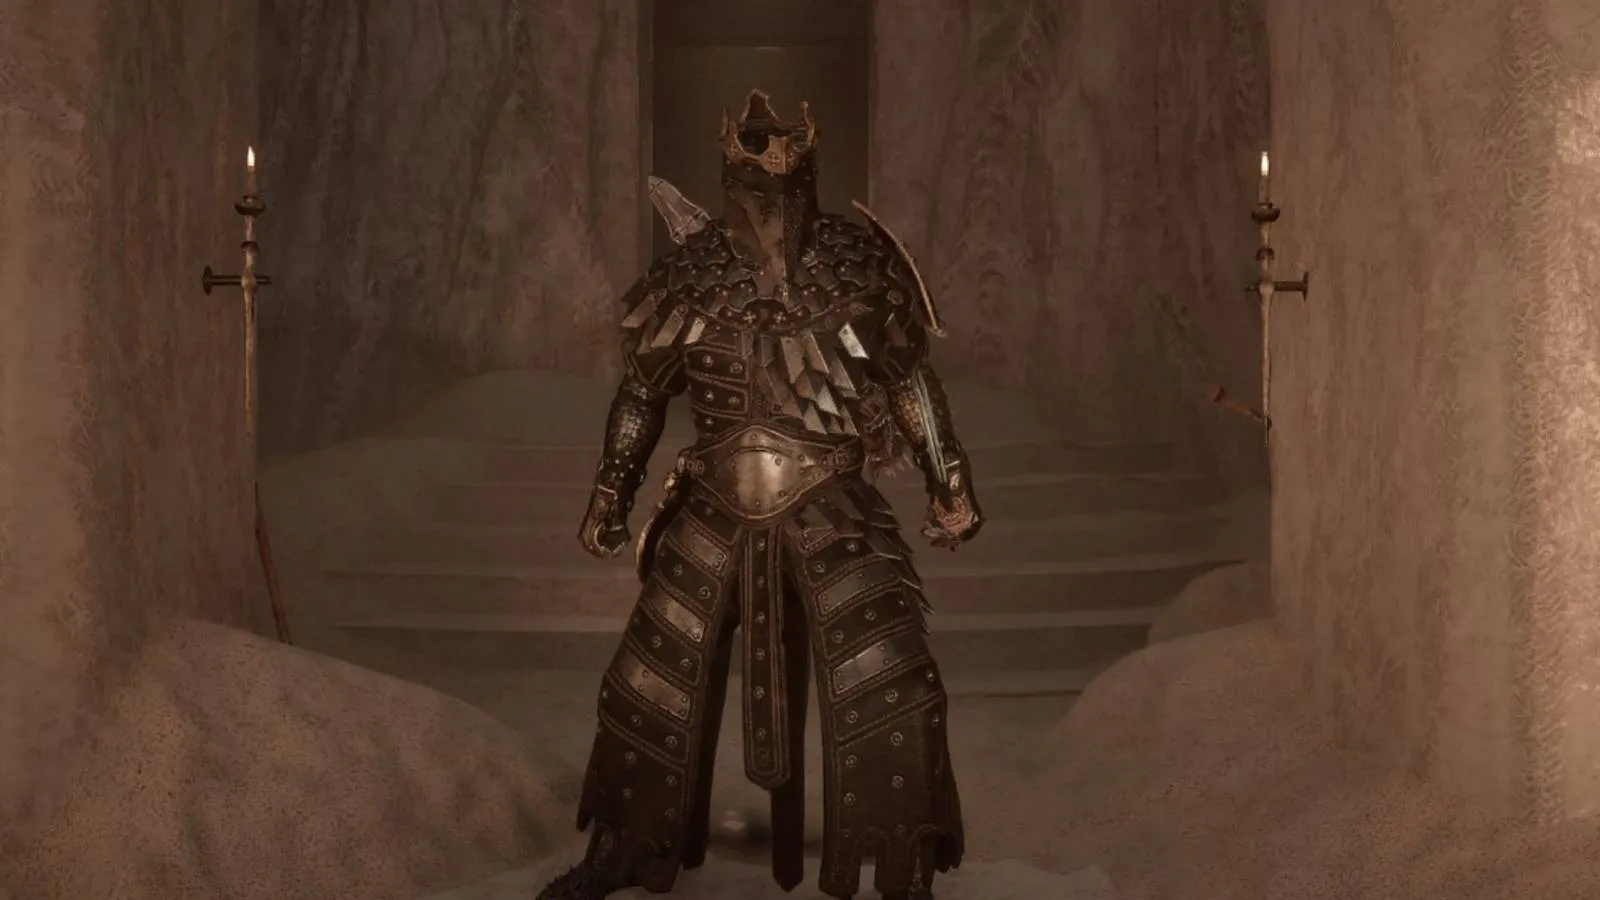
Smert the Apostate
Reach the Outskirts of Nochte in western Fainweald, complete the blood ritual by killing enemies in the three pools, then interact with Smert’s body. Gameplay footage highlights his Miracle active, which dramatically slows time and causes melee attacks to apply Chaos stacks that can trigger other status effects, and a Faith passive that increases Resolve generation when health drops below 10%. Some players consider Smert the strongest endgame option when built around permanent time-slow, though that evaluation depends on gear and upgrades. He rewards players who can survive the early game to exploit his late-game crowd control.
Mammon Shell Locations
Use the Ruins of Mammon map directory to plan these unlocks alongside the region’s weapon and sidearm routes.
Lazlo the Justiciar
From the Outskirts of Mammon beacon, head west to the High Lord’s Courtyard, enter the keep, and defeat Vellen, Lord of Mammon, to access the crypt holding Lazlo’s corpse. Gameplay footage shows Lazlo as a chunky tank with high HP, an active Retribution that fires shock waves and builds an Overheat bar for a large burn explosion, and a passive Fortified Plate that grants 10% damage reduction while his armor is active. He is a natural frontline choice for players who want to absorb punishment and disrupt groups. Expect to fight through heavy knights and Coffin Eye Beholders before reaching the boss arena.
Sariel the Endless
In southeastern Mammon, tag the Silent Steps beacon, take the jump gate to the high ledges, and fight Sariel in the open area until he escapes. Continue to the Chamber of Becoming, destroy the lightning rods so he cannot resurrect, then finish him off to unlock his Shell and receive the Clockwork Scythe and Caged Hystrix sidearm. Gameplay footage frames Sariel as a warlock-style Shell who uses Exodus of Thorns to launch spikes and inflict recoverable “pain” damage on himself and enemies. He rewards patient players who can manage his high-risk, high-reward curse mechanics.
Genessa the Wayward
Begin by exhausting Sester Genessa’s dialogue in the Marrow Keep training grounds, then strike the white glyph past the sarcophagi to reveal a chalice chamber. Keep the Slayer Seal in your inventory without equipping it so you can enter the Desolate Keep, reach the end to grab the Blackmarrow Key, and talk to Genessa again. Later, defeat Sester Secundus in the arena near the Abbey Entrance beacon in eastern Mammon to obtain the Sester’s Chalice, bring it back to Genessa, and relive her memory to unlock her. One video refers to a similar character as a separate playable “Janessa” with clone-summoning abilities, so the sources conflict on Genessa’s exact classification and full skill set.
Shell Abilities at a Glance
Each Shell centers on a clear combat identity that shapes your build. Harros teaches fundamentals with Stone Stun and riposte setups, Tiel offers stealth and perfect-dodge rewards, and Proxima combines gap closing with a chance-based damage mitigation passive. Gragu turns enemy kills into healing resources, Eredrim rewards heavy melee pressure and break damage, and Smert can lock down fights with time manipulation and Chaos statuses. Lazlo brings tanking and area denial, Sariel brings curses and self-damage recovery, and Genessa appears to support a minion or red-duplicate playstyle based on the conflicting source material.
Watch: Unlock All Shells Early
Want to grab all eight permanent Shells as fast as possible? The video below shows a route that unlocks every Shell in under two hours, which is the quickest way to try each class before committing your Glimpse. The second video is a general “things to know before playing” overview that covers the Shell system basics.

Mortal Shell 2 - How To Unlock All The Shells EARLY! Get All 8 Shells in Under 2 Hours

Mortal Shell 2 - 11 Things To Know Before Playing
Which Shell Should You Pick?
New players should start with Harros during the prologue to learn the basics, then transition to Tiel or Proxima for mobility and safety. Eredrim and Lazlo are the best frontline options if you prefer blocking and trading blows, while Gragu fits aggressive players who want sustain from fallen enemies. Smert is the strongest choice on paper for advanced builds that exploit his Miracle time-slow, and Sariel offers a unique but punishing curse playstyle. If you enjoy pet or clone mechanics, Genessa may be worth the involved unlock quest once her full abilities are confirmed.
Gallery
Related Articles
beta
Mortal Shell 2 Beta: Access, Shells, Weapons & Seals
Mortal Shell 2 beta is on Steam and consoles. Learn what's included, which Shells and weapons appear, how Shell Bonding works, and progression details.
shells
Mortal Shell 2 Best Shell: Top Picks & Unlock Guide
Find the Mortal Shell 2 best shell for your playstyle. Compare Tiel, Proxima, Eredrim and more with tier list rankings and unlock locations.
Was this helpful?
Thanks for the feedback!